How to connect Jira and Tempo to MuchSkills

Step 1: Create API Key in Jira

1. Go to Jira Settings and navigate to Security and the API Tokens section.

2. Create a new API key by adding a name for the token and click “Create” button

3. Copy the API Token you just generated

Step 2 - Connect Jira with MuchSkills

4. In MuchSkills, go to Team Settings.
5. Scroll down and select Integration from the sidebar, then click 'Connect' at Jira
Go to Team Settings in MuchSkills

6. Under Jira Integration, do the following:
  • Add the email associated with the user who created the Jira API key.
  • Paste the copied Jira API key.
  • Enter your Jira domain (e.g., yourcompany.atlassian.net).
  • Click Connect to integrate Jira with MuchSkills.

Step 3 - Set up Tempo integration in Jira

  1. Navigate to Tempo in Jira by clicking 'Apps' and 'Tempo'.

8. In Tempo in Settings open API Integration page

8. Navigate to Settings and then open the API Integration page.
Important: The user whose API key is being used for the integration must have the following permissions in Tempo settings to ensure full functionality:
View Plans
Manage Plans
Approve Plans

How to create roles in Tempo (click the image to access video instruction): 

Step 4- Create Tempo API Token

To create roles, follow the following procedure  ⬇️

9. Click to create new token in Tempo
10. Add a name for the token, select the expiration date, and choose the Full Access option.
11. Copy the API token once it’s created.

Step 5 - Connect tempo with MuchSkills

12. In MuchSkills, under Tempo Integration, paste the copied Tempo API Token and click Connect.

🟡 Important: If you only add the Jira API key without the Tempo API key, time and capacity information for your team will not display correctly.

Done!

Your MuchSkills integration with Jira and Tempo is now complete! 🎉

Benefits of integration Jira & Tempo with MuchSkills

This integration allows you to efficiently build and manage skill-based teams by leveraging the data from Jira and Tempo.

Easily Select Teams from Jira: When creating a new team in MuchSkills, you can directly select it from your Jira teams

Automatic Team Descriptions: The team’s description from Jira is automatically synced with MuchSkills

Skill-Based Team Building: You can add relevant skills to your team, and if your teammates are already registered in MuchSkills, you can easily add them to your team and view their capacity for upcoming projects.

Important things

Important: The user whose API key is used for integration must have the View Plans permission in Tempo settings. Without this, not all users and plans will be accessible via the Tempo API.

We synchronize users by email - so if the user's email in MuchSkills does not match the user's email in Jira, it will not be synchronized
We automatically add a webhook to your organization in Jira in order to monitor the status of projects and synchronize users
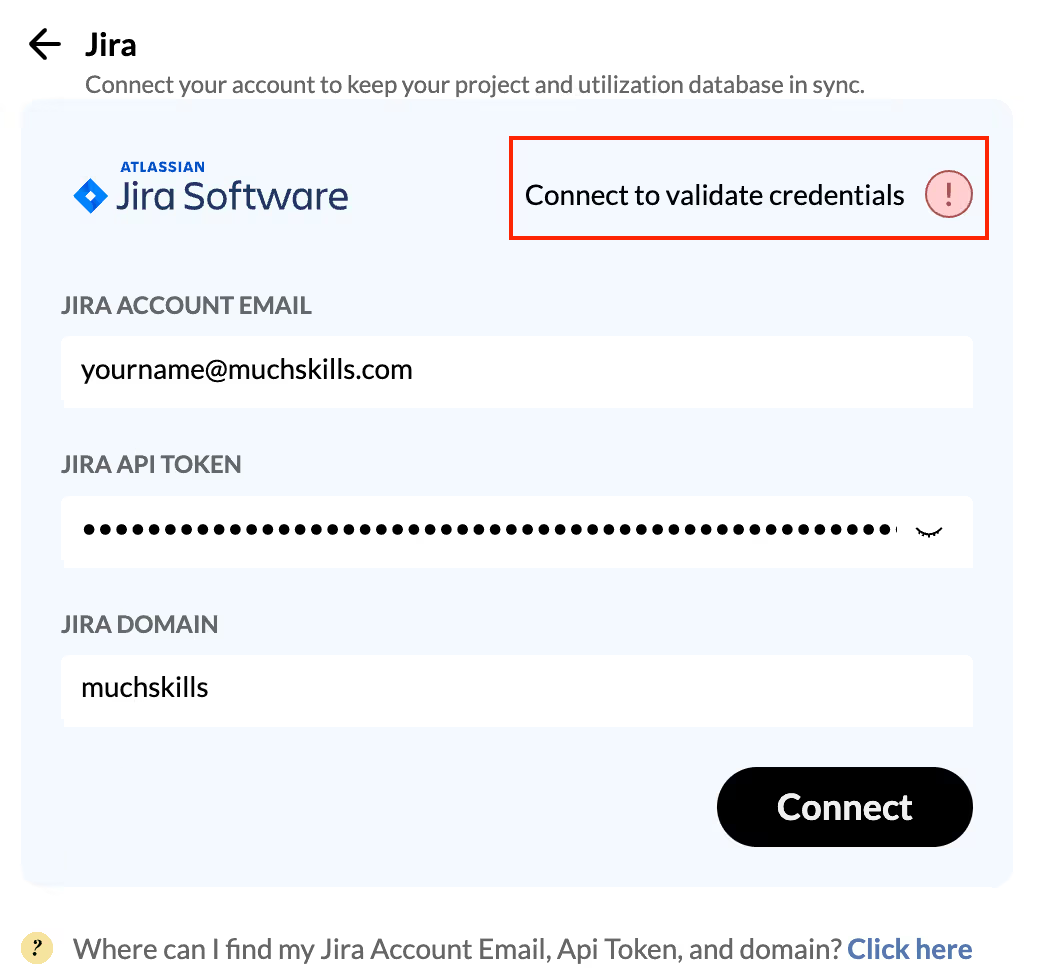
If you approach the following errors: 

or

It might be due to the following reasons: 

  • If your API key has expired: Update it with a new valid key to restore the integration.
  • Invalid credentials added for integration: Ensure the correct API key and credentials are entered.
  • The user whose token is used has been removed from the Jira organization: Verify that the user associated with the token is still active within the Jira organization.
  • If not all plans in Tempo are displayed: Check the user’s permissions in Tempo to ensure they have the required roles (View Plans, Manage Plans, Approve Plans).

Project access errors

If you see such an error:

This typically happens when a Jira project is set to Private, preventing Muchskills from fetching Jira Issues.

Below, we'll provide step-by-step solutions for both Team-managed and Company-managed projects.

For Team-Managed Projects

Option 1: Add the Integration User to the Project Team

  1. Navigate to Project Settings:
    • Go to the specific Team-managed project in Jira.
    • Click on the Project settings icon in the left sidebar.
  2. Open Access in Settings:
    • In the settings menu, select Access.
  3. Add the Integration User to the Team:
    • Click on Add people.
    • Enter the username or email of the integration user used by Muchskills.
    • Assign an appropriate role that grants permission to view issues.

4. Save Changes:

  1. Click Add to include the user in the project team.

Option 2: Change the Project's Access Type

  1. Navigate to Project Settings:
    • Go to the specific Team-managed project in Jira.
    • Click on the Project settings icon in the left sidebar.
  2. Open Access in Settings:
    • In the settings menu, select Access.
  3. Modify Project Access:
    • You'll see the current access level (likely set to Private).
    • Change the access level to Open or Limited.
    • Note: If you choose Limited, ensure that the integration user is included in the roles that have access.

4. Save Changes:

  1. Click Save to apply the new access settings.

For Company-Managed Projects

Adjust the Permission Scheme

  1. Navigate to Project Settings:
    • Open the Company-managed project in Jira.
    • Click on Project settings in the left sidebar.
  2. Access Permissions:
    • Select Permissions from the settings menu.
  3. Edit the Permission Scheme:
    • Click Actions and select Edit Permissions.
    • Note: If you prefer not to modify the existing scheme, you can create a new permission scheme and associate it with the project by selecting the “Use a different scheme” action.

4. Grant 'Browse Projects' Permission:

  • Locate the Browse Projects permission.
  • Click Edit next to it
  • Add the integration user to this permission

5. Save Changes:

  • After making changes, ensure you click Update to update the permission scheme.

Final Step

  • Test the Integration: After adjusting the settings, return to Muchskills and attempt to sync the data again.
Made with ❤️in Göteborg 🇸🇪 and with the support of our amazing colleagues in Ukraine 🇺🇦

© 2019 - 2023 | MuchSkills AB Org. Nr. : 559282-2521. MuchSkills® is a registered trademark